Quickstart#
Note
Kolena Workflows are simplified in Kolena Datasets. If you are setting up your Kolena environments for the first time, please refer to the Datasets Quickstart.
Install Kolena to set up rigorous and repeatable model testing in minutes.
In this quickstart guide, we'll use the
object_detection_2d
example integration to demonstrate the how to curate test data and test models in Kolena.
Install kolena#
Install the kolena Python package to programmatically interact with Kolena:
Clone the Examples#
The kolenaIO/kolena repository contains a number of example integrations to clone and run directly:
-
Example: Face Recognition 1:1 ↗
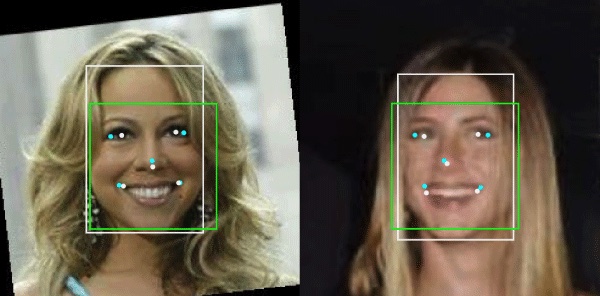
End-to-end face recognition 1:1 using the Labeled Faces in the Wild (LFW) dataset.
-

Age Estimation using the Labeled Faces in the Wild (LFW) dataset
-

Facial Keypoint Detection using the 300 Faces in the Wild (300-W) dataset
-
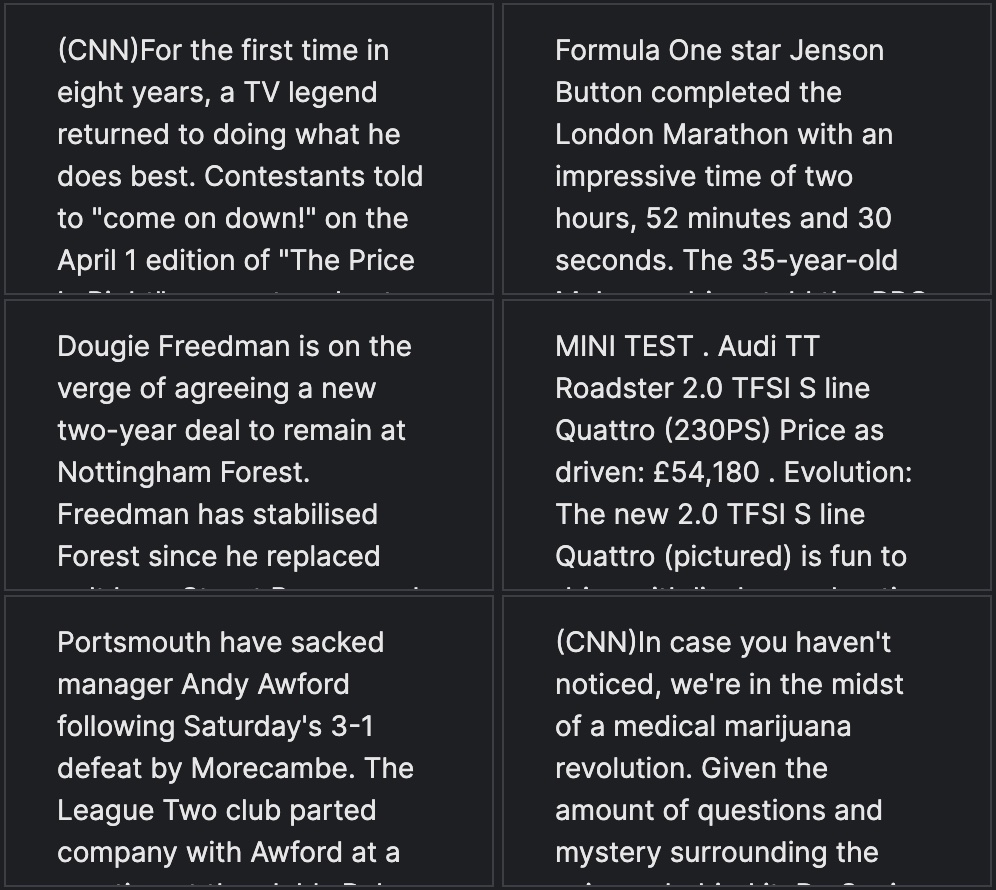
Text Summarization using OpenAI GPT-family models and the CNN-DailyMail dataset
-
Example: Object Detection (2D) ↗
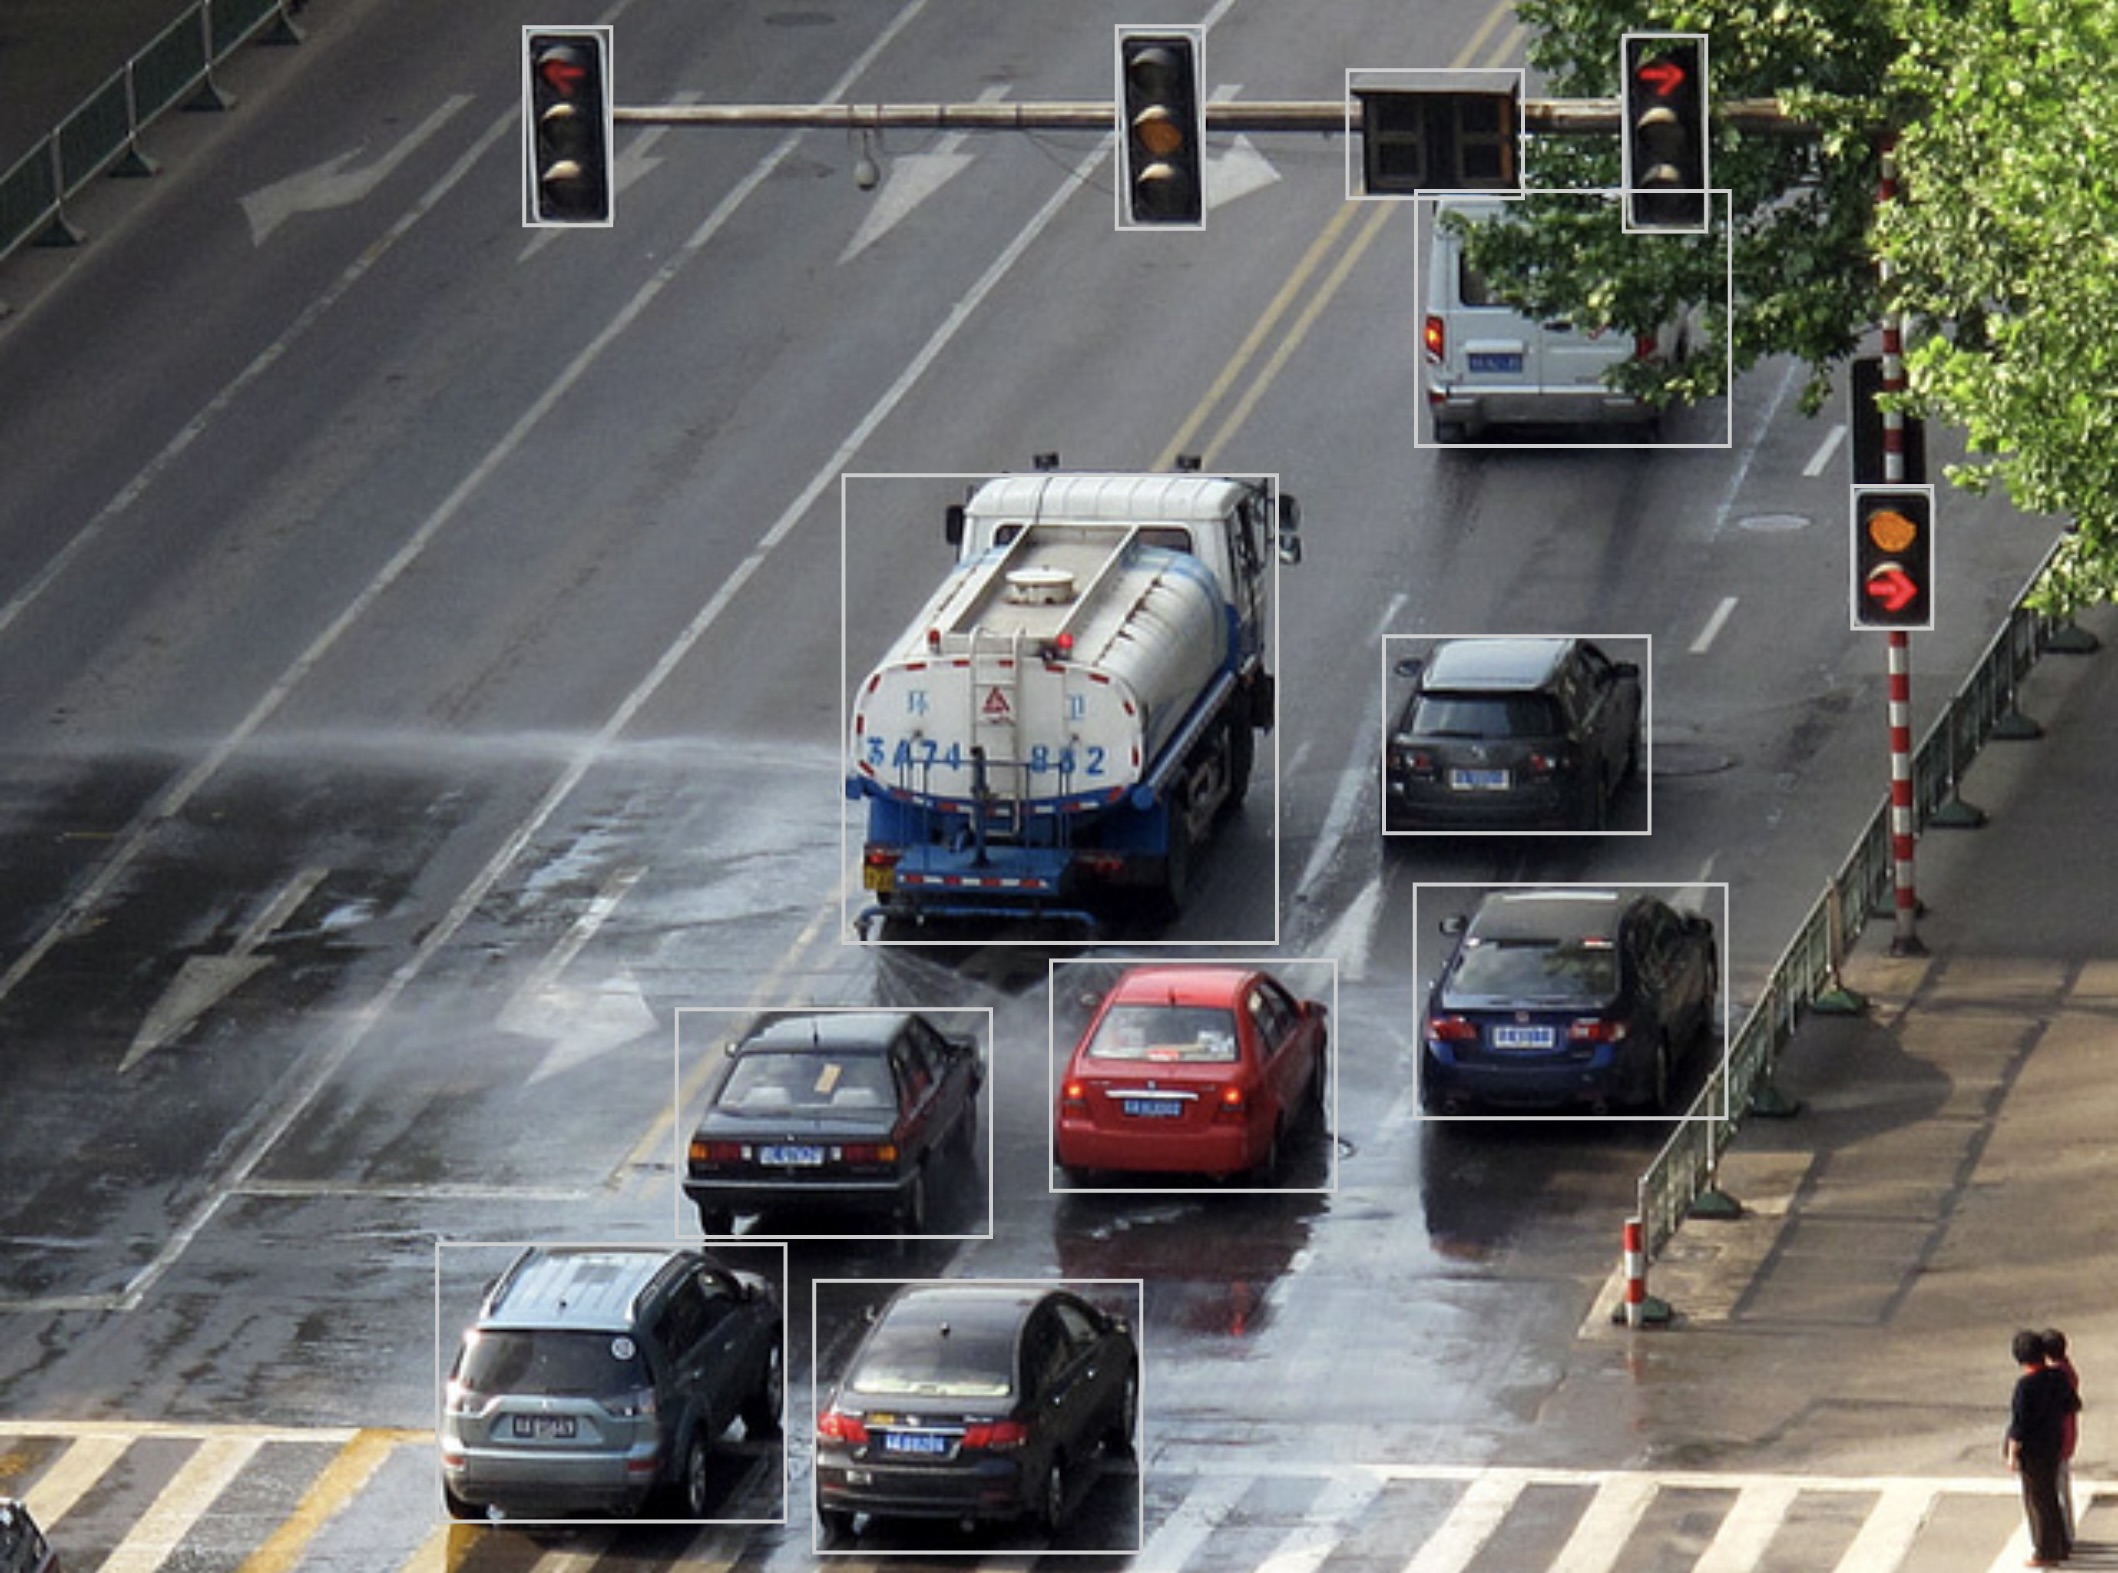
2D Object Detection using the COCO dataset
-
Example: Object Detection (3D) ↗
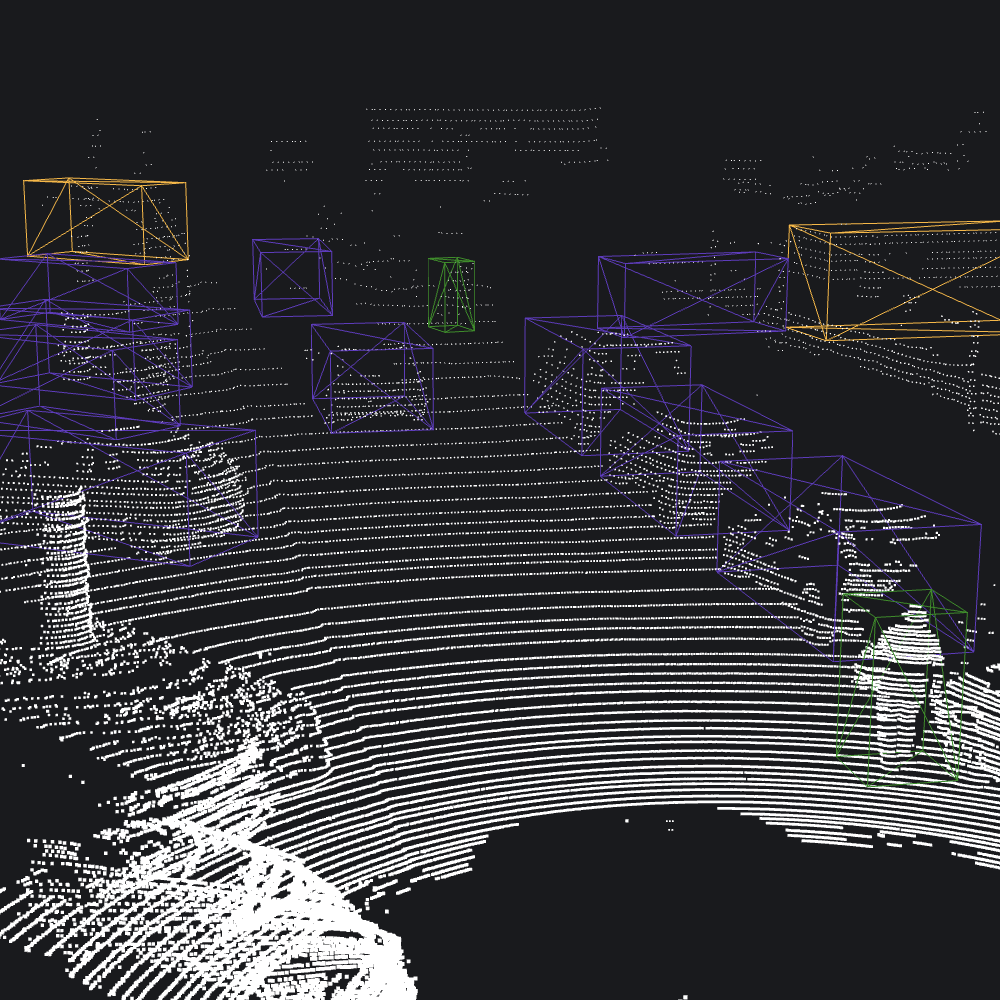
3D Object Detection using the KITTI dataset
-
Example: Binary Classification ↗
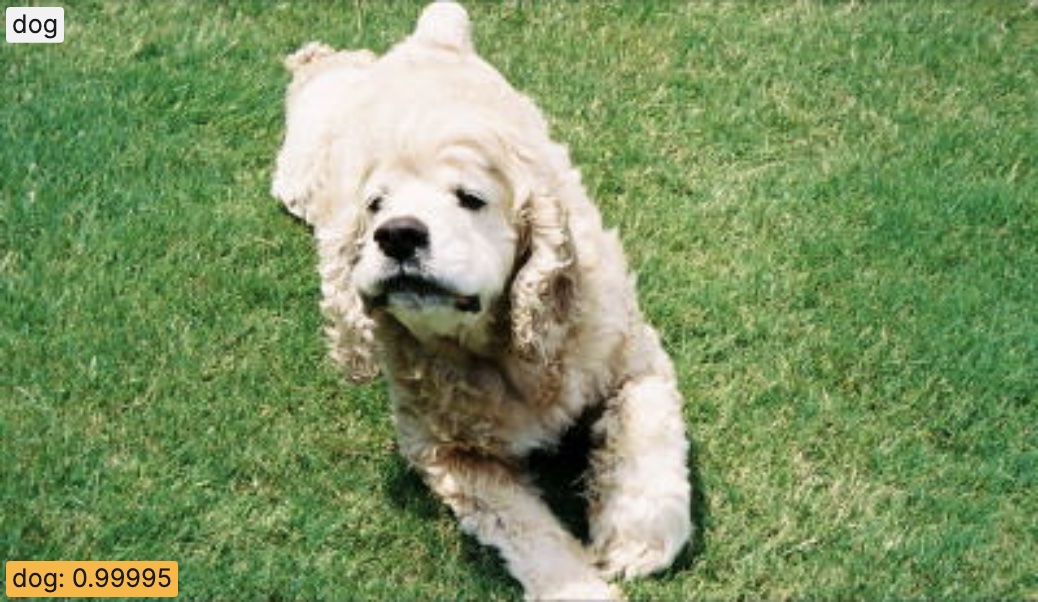
Binary Classification of class "Dog" using the Dogs vs. Cats dataset
-
Example: Multiclass Classification ↗
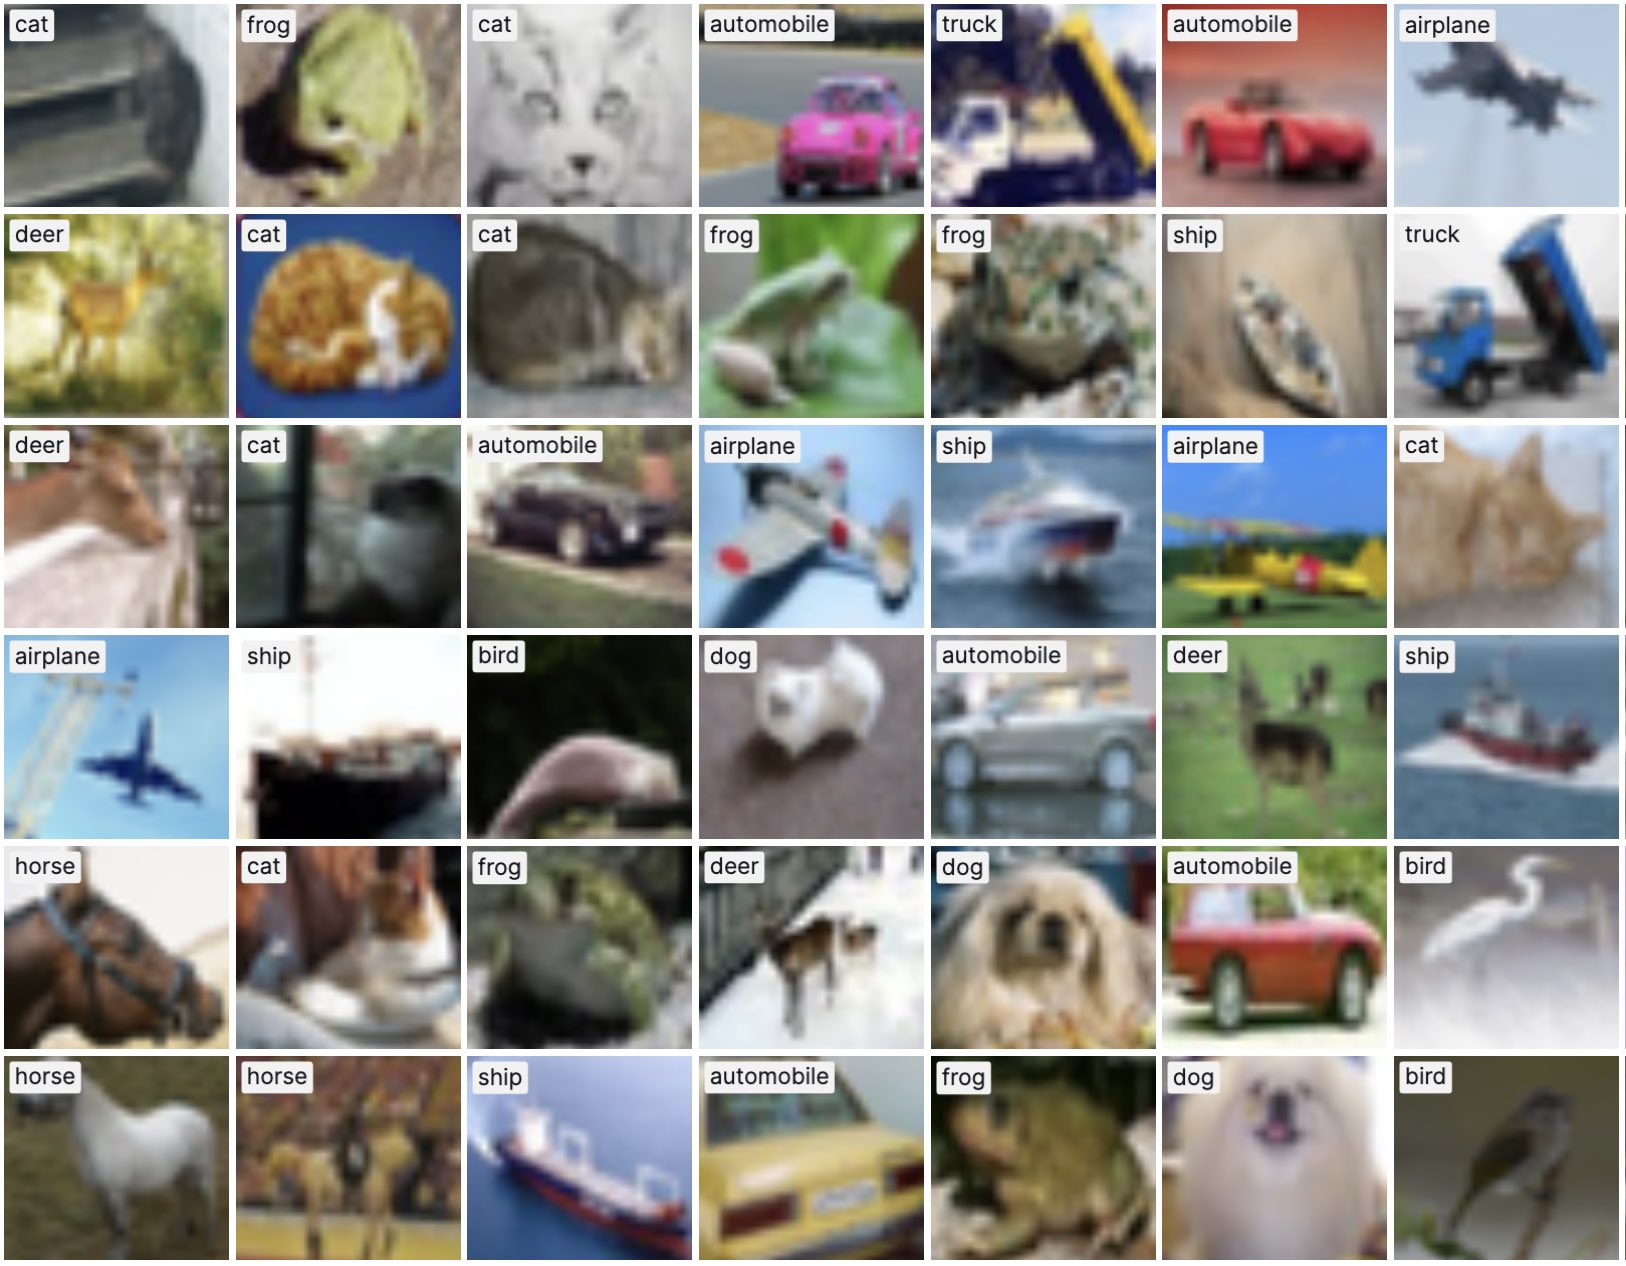
Multiclass Classification using the CIFAR-10 dataset
-
Example: Semantic Textual Similarity ↗
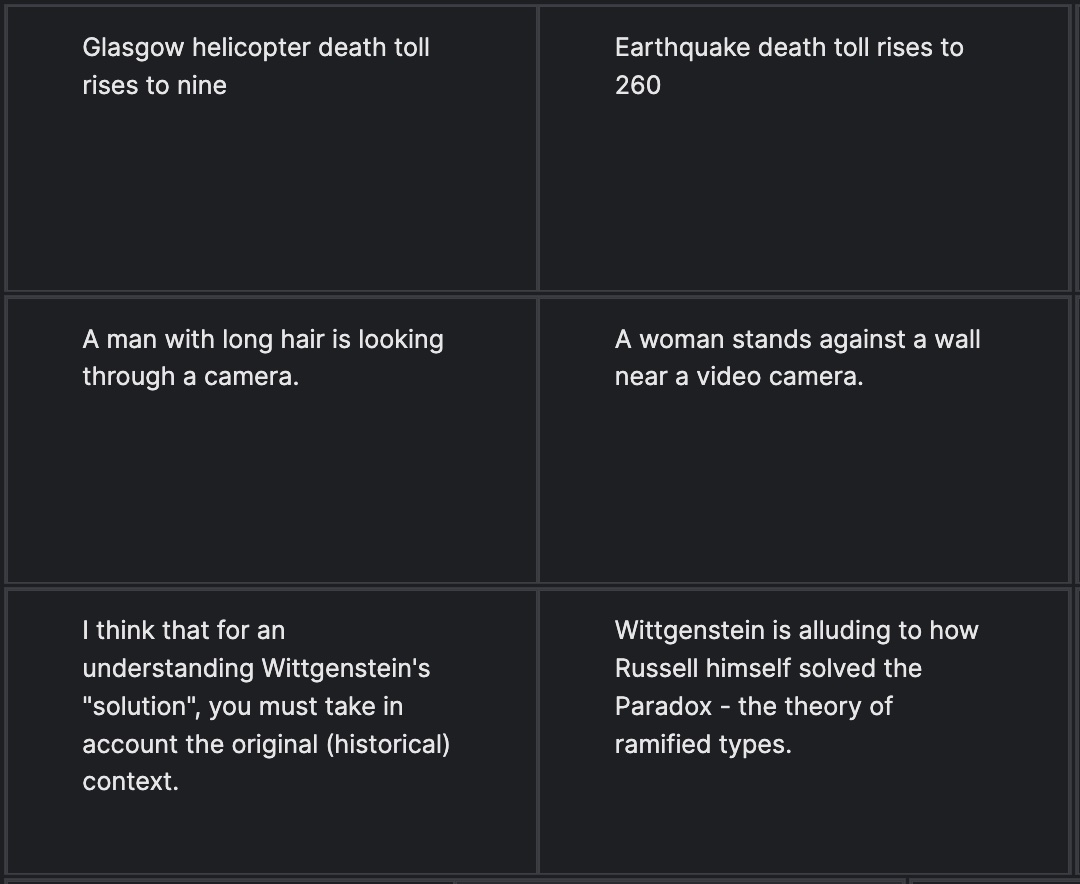
Semantic Textual Similarity using the STS benchmark dataset
-
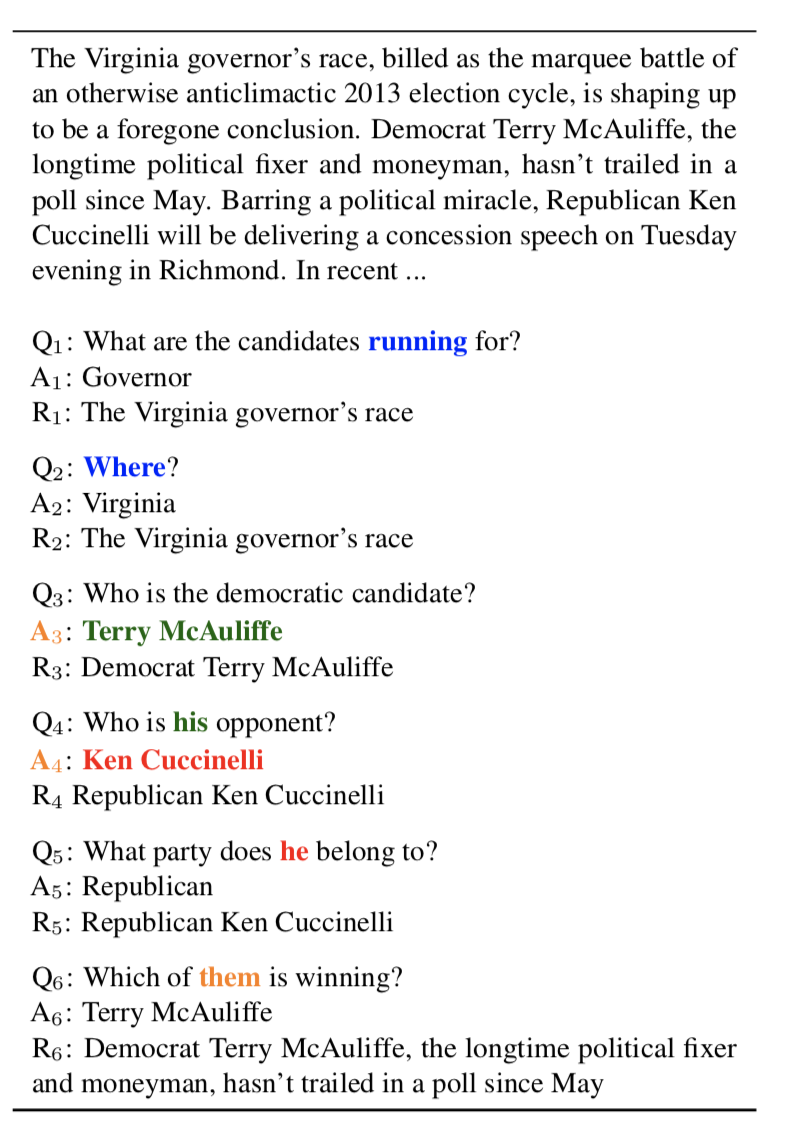
Question Answering using the Conversational Question Answering (CoQA) dataset
-
Example: Semantic Segmentation ↗
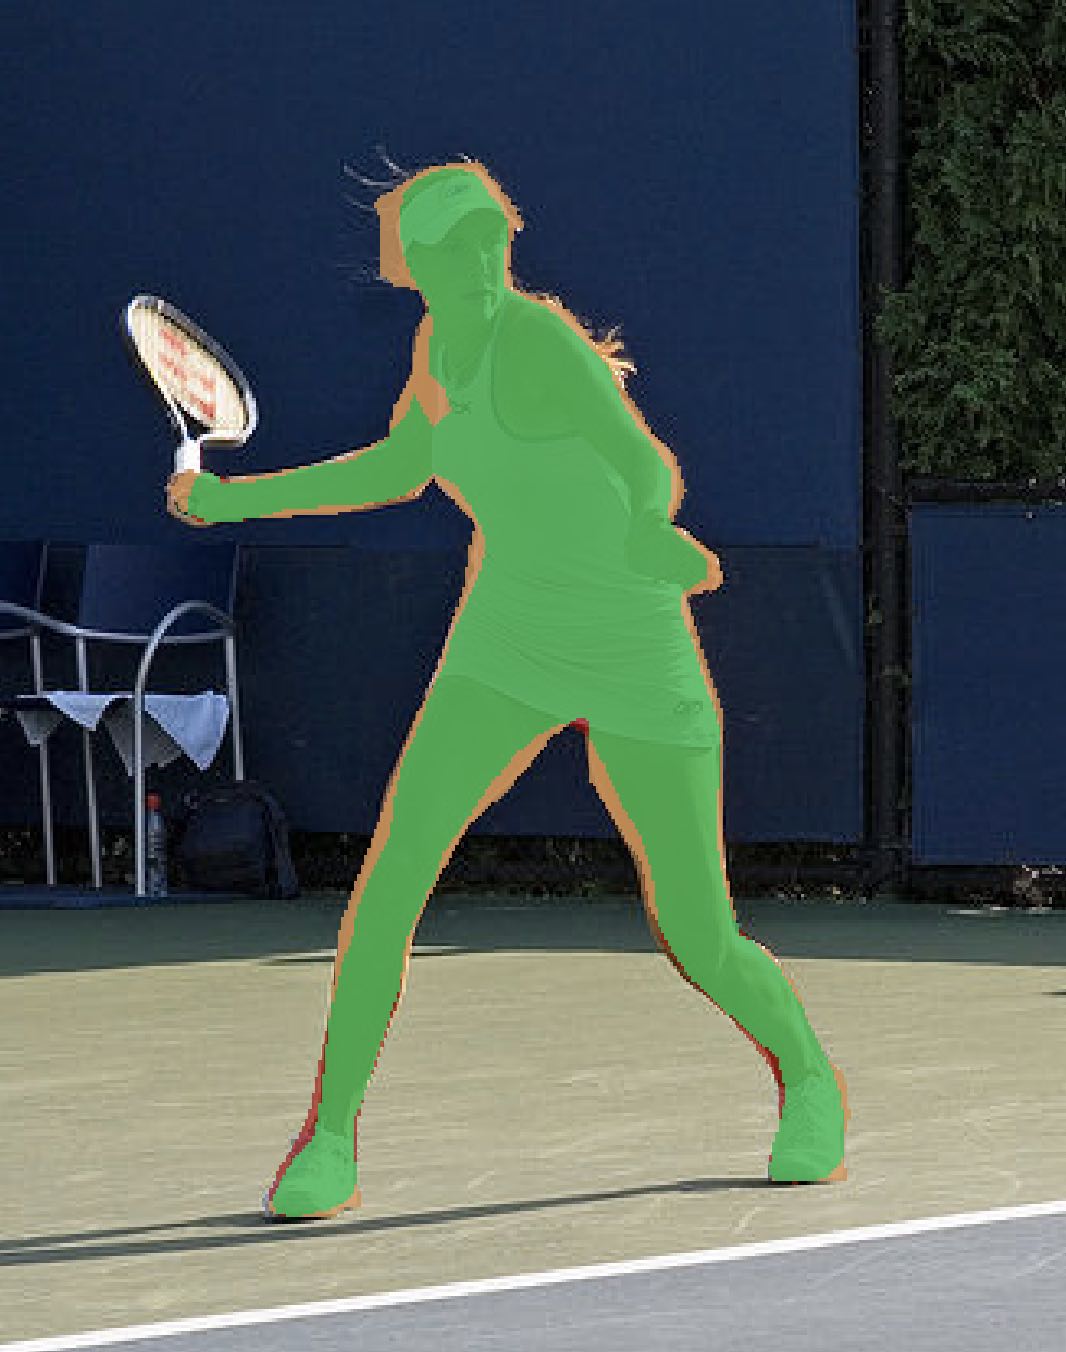
Semantic Segmentation on class
Personusing the COCO-Stuff 10K dataset -
Example: Automatic Speech Recognition ↗
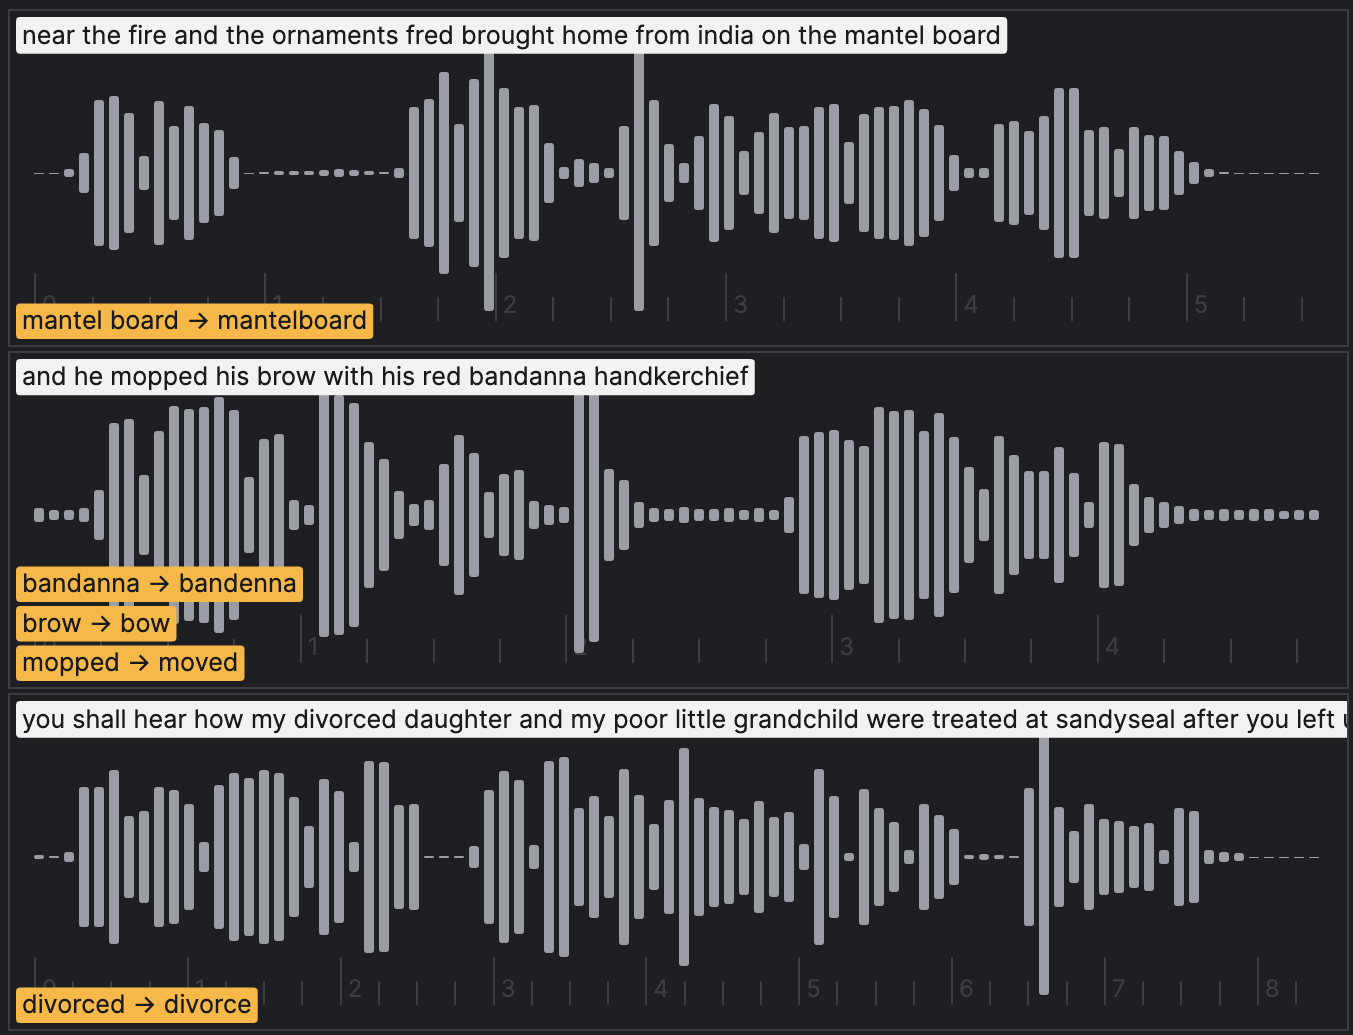
Automatic speech recognition using the LibriSpeech dataset
-
Example: Speaker Diarization ↗
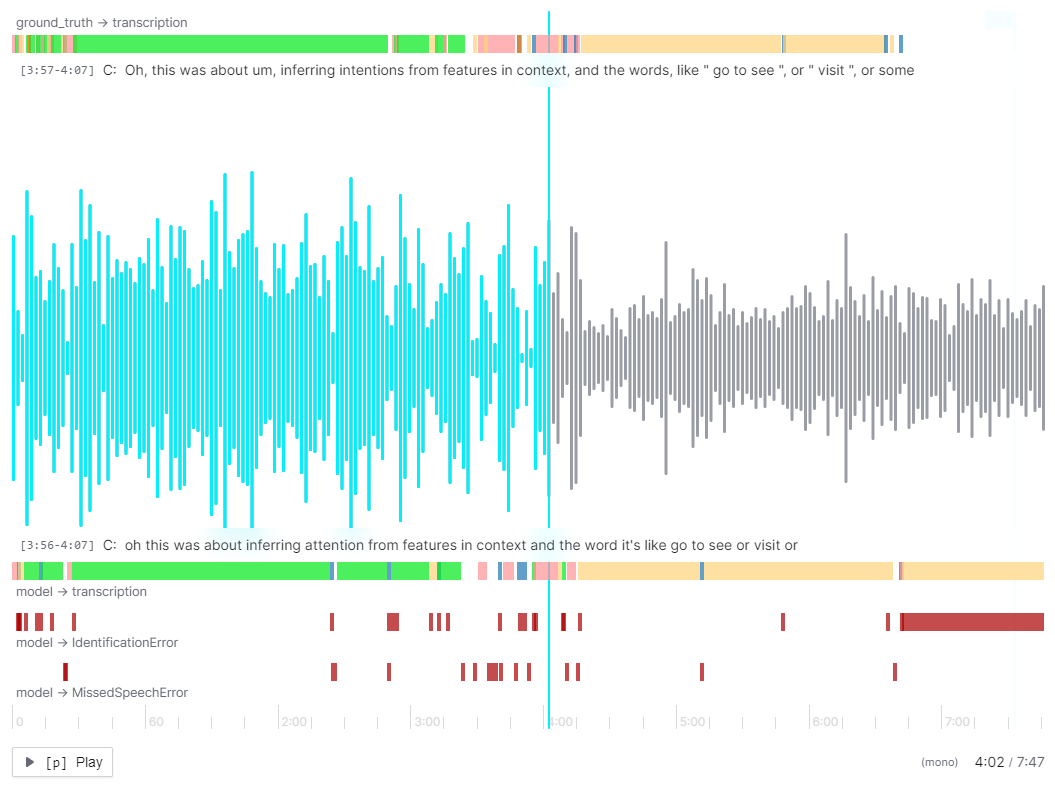
Speaker Diarization using the ICSI-Corpus dataset
To get started, clone the kolena repository:
With the repository cloned, let's set up the
object_detection_2d example:
Now we're up and running and can start creating test suites and testing models.
Create Test Suites#
Each of the example integrations comes with scripts for two flows:
seed_test_suite.py: Create test cases and test suite(s) from a source datasetseed_test_run.py: Test model(s) on the created test suites
Before running seed_test_suite.py,
let's first configure our environment by populating the KOLENA_TOKEN
environment variable. Visit the
Developer page to
generate an API token and copy and paste the code snippet into your environment:
We can now create test suites using the provided seeding script:
After this script has completed, we can visit the Test Suites page to view our newly created test suites.
In this object_detection_2d example,
we've created test suites stratifying the COCO 2014 validation set
(which is stored as a CSV in S3) into test cases by brightness and bounding box size.
In this example will be looking at the following labels:
["bicycle", "car", "motorcycle", "bus", "train", "truck", "traffic light", "fire hydrant", "stop sign"]
Test a Model#
After we've created test suites, the final step is to test models on these test suites. The object_detection_2d example
provides the following models to choose from {yolo_r, yolo_x, mask_rcnn, faster_rcnn, yolo_v4s, yolo_v3} for this step:
Note: Testing additional models
In this example, model results have already been extracted and are stored in CSV files in S3. To run a new model,
plug it into the infer method in seed_test_run.py.
Once this script has completed, click the results link in your console or visit Results to view the test results for this newly tested model.
Conclusion#
In this quickstart, we used an example integration from kolenaIO/kolena to create
test suites from the COCO dataset and test the
open-source yolo_v4s model on these test suites.
This example shows us how to define an ML problem as a workflow for testing in Kolena, and can be arbitrarily extended with additional metrics, plots, visualizations, and data.